Monday 26 December 2011

Year 2 Tailoring Processes: Week 5

Design Package


For my design package i designed a range of jacket design ideas, this included technical information which i labelled on each jacket design front and back to show where things such as the pockets,darts and top stitch detail will go.

Final Design


Here is my final design that i decided to choose for creating my final jacket sample. My final design features added volume to the top of the sleeve, a stand up collar with top stitched detail, front and back shoulder/ waist darts. Along with two front patched pockets with top stitched detail on them.


Final Jacket


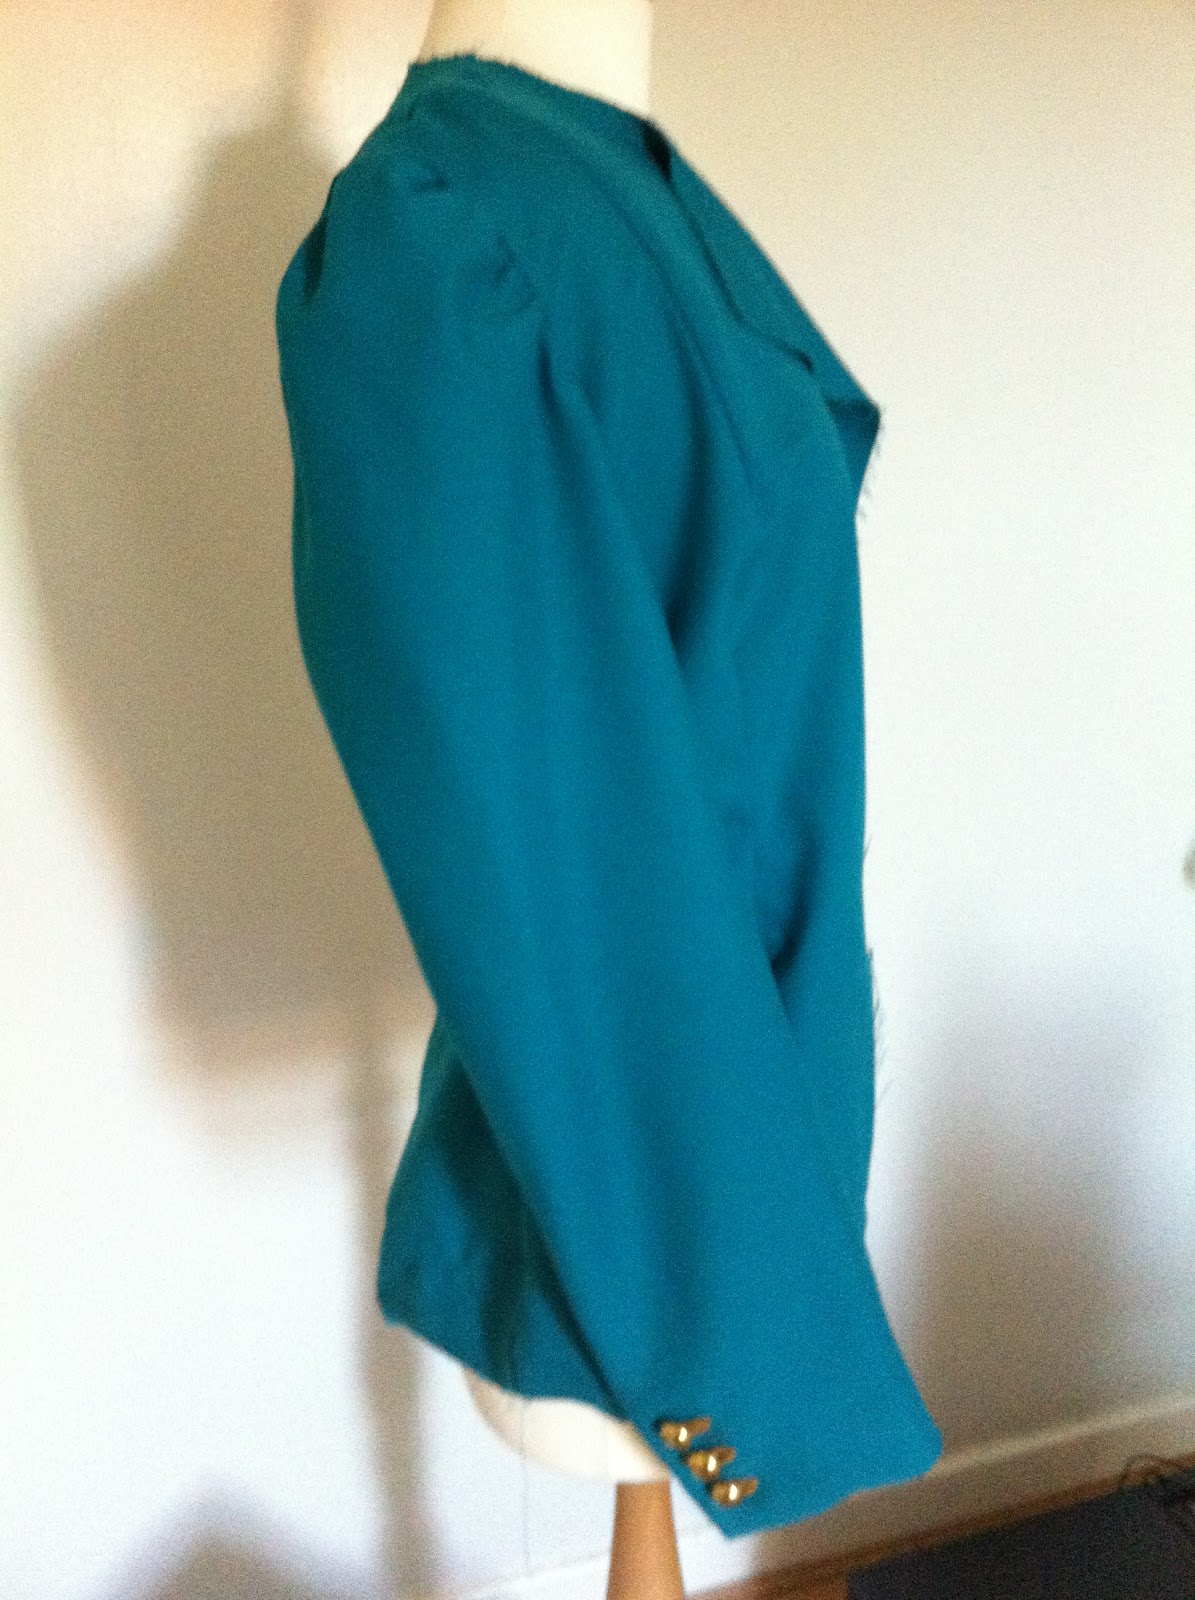
My final jacket featured two front shoulder darts, two bust darts, two front patch pockets with a stand up collar. The back of the jacket features two back should darts and two lower back darts. Instead of making half a jacket i decided to make a full jacket to show that i am capable of making a full jacket with lining. By making a full jacket this has helped me to be more confident by pushing the boundaries showing what im capable of producing when i put my time and effort into it.

 Front view

 Back View

Two back shoulder darts

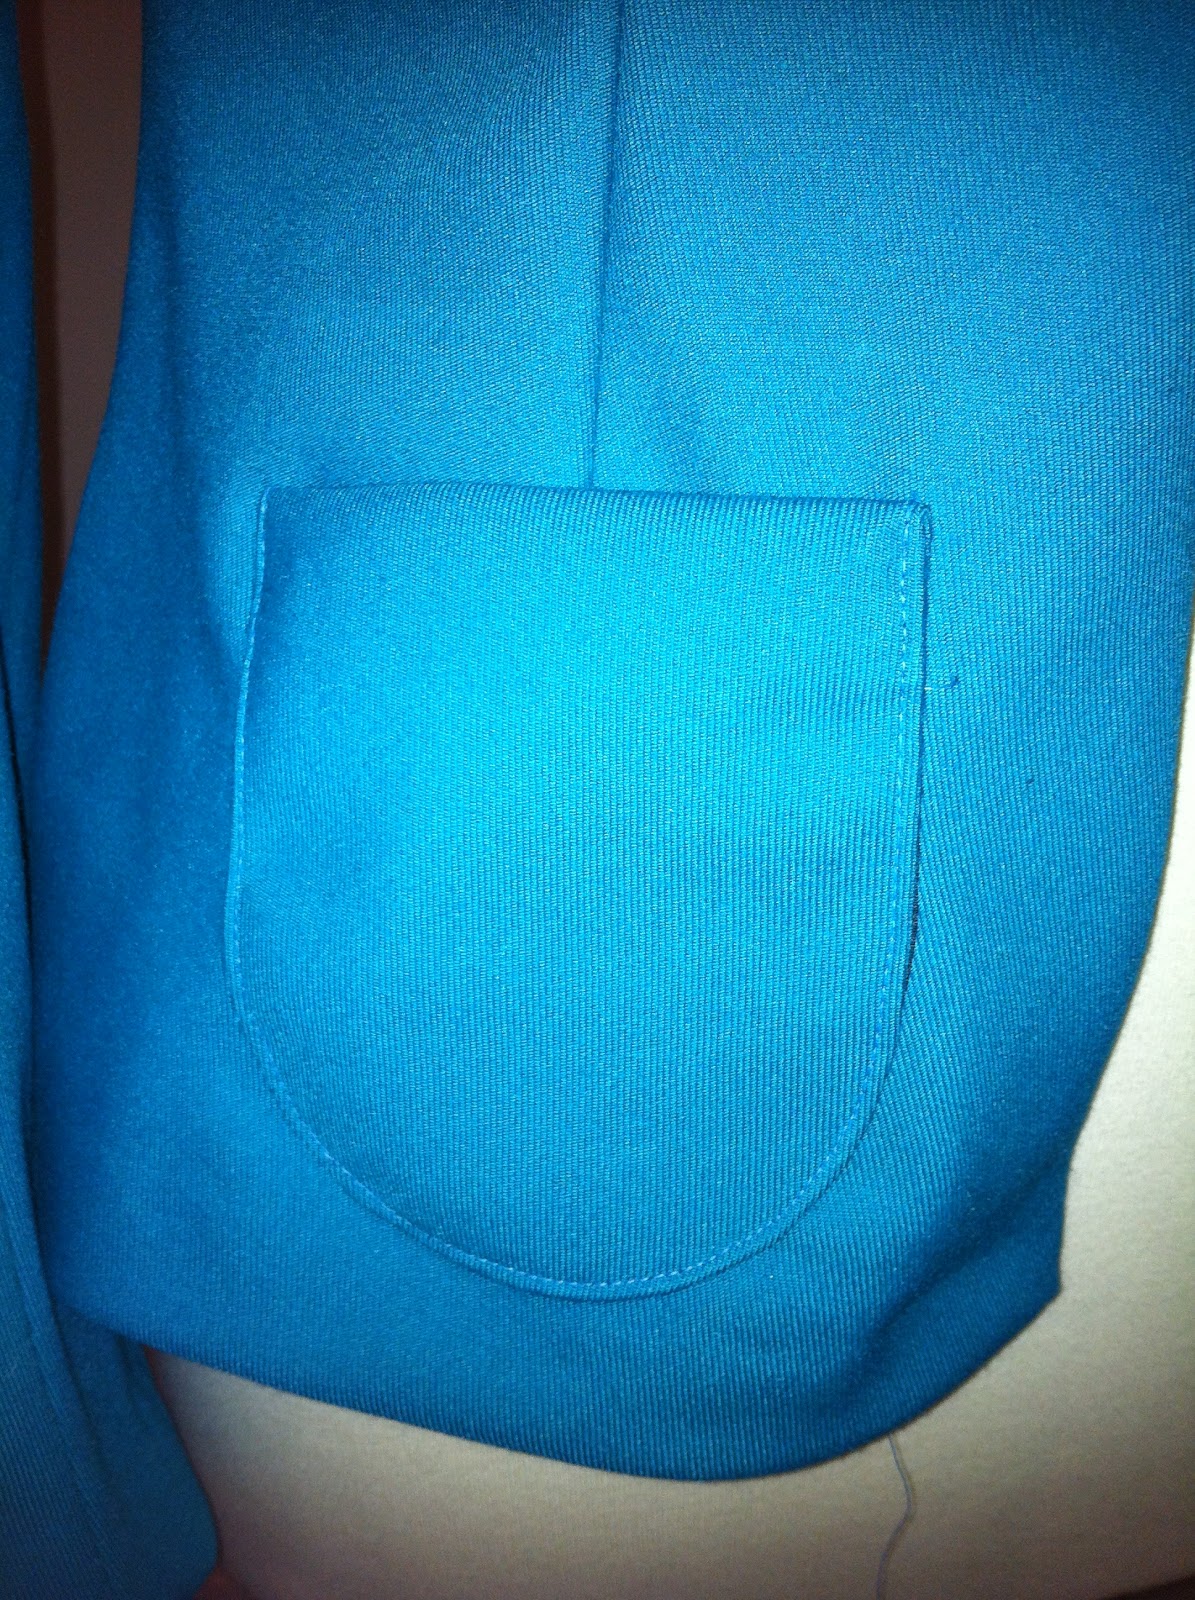
 Front patch pocket with top stitch detail

Stand up collar close up

Sleeve with slightly added volume to the top of the sleeve

During this project i pushed the boundries by completing a full jacket to the best of my ability, taking in consideration all the tailoring skills i have learned. By learning new skills has made me aware of what it takes create a tailored jacket as well as the time and effort involved in making it. I feel confident in making a jacket by using the new skills i have learnt and adapting them into my third year collection.

Year 2 Tailoring Processes: Week 4

Production of tailored collar and rever sample

This is my finished sample i created during the workshop producing a collar and rever.
Using the skills i learnt from week three i pad stitch the canvas for the lapel and sewn on the tape roll onto the front of the calico piece. I pressed interfacing onto the inside facing of the jacket and to the bottom of the hem on the jacket.

To create a curved collar i pressed it down to hold the curved shape on the collar in.

 Front View

Close up of melton under collar


Side view

Innovative stand up collar

In order to create a stand up collar i made a pattern by measuring around the collar after i had sewn the front and back sides of the jacket together. As you can see i then added a 1cm seam allowance around the collar. I folded the fabric over and placed the pattern onto the folded fabric line as that's where i was going to cut up to.


I cut two pieces out for the stand up collar and then ironed on interlining on one side of the two collar pieces. 


To attach the collar onto the jacket i then pinned it down to secure it in place.


This is what the collar looked like after i had sewn it onto the jacket and onto the inside lining and facing.

Final stand up collar finished

By creating a Melton under collar sample helped me to understand the process involved when creating a collar, i decided to create a stand up collar with top stitch detail on the inside. I found creating the pattern easy but tested it out a number of times in calico, to make sure it was the right length.
The process of sewing the collar on was long as i had to sew the lining to one side of the collar and then sew the outside jacket of the to the other side of the collar. Lastly i then sewed the two collars together, topstitched inside the collar to hold it in place nicely.
 Front View

 Front View close up

 Back view of collar


Close up top stitch on the inside of the collar


Sunday 25 December 2011

Year 2 Tailoring Processes: Week 3


Innovative shoulder padding


This is what my innovative shoulder pad looked like, i used four layers of felt material i then hand sewn the padding using a padding stitch. I sewed the shoulder seams to the shoulder padding and then sewed the edge of the padding to the sleeve seam. 

These are some images showing half a jacket with my innovative shoulder padding sewn onto the shoulder seams and sleeve seams. The innovative shoulder padding i made looks really big and bulky, which was my inttention of creating an over sized shoulder pad.

 Front View


 Front view close up


 Back View 

By producing a sample of a shoulder pad has enable me to create my own innovative shoulder pad. I researched innovative shoulder pads and liked the oversized,
structured style shoulder pads. I created a small bulky shoulder pad, it added a lot of height to the shoulder inside the half jacket as you can see from the pictures.


Year 2 Tailoring Processes: Week 2


Design and creating a innovative sleeve with a vent

1. In order to create my innovative sleeve I traced around the normal sleeve pattern, which i then traced diagonal from the top to the bottom of the top sleeve. 
Equally measured out the top sleeve i cut off cut and slashed it open and stuck in down to the other half of the top sleeve.


2. This is what it looked like afterwards, once i stuck the slashed top sleeve open i stuck it down to the rest of the top sleeve added a 1 cm seam allowance all the way round. Added a 3cm seam allowance to the cuff on the sleeve. 


3. Added a vent to the top sleeve which was 4cm wide and 8cm high added drawn it next to the 1cm seam allowance as you can see below. This is the final pattern for my innovative sleeve with a vent.


Innovative sleeve in final fabric


I used my innovative sleeve pattern in order to create this sleeve i used a fabric called Gaberdine. I slightly added more volume at the top of the sleeve,
which i gathered in and then sewn into the arm hole.
Front View


This shows the sleeve close up you can see the slight
gathered detail at the top of the sleeve.


Back View


Sleeve vent with hand sewn button holes


Side view of finished innovative sleeve sample.

I successfully managed to figure out and create a sleeve with a vent. By practising on calico and then trying it out in my final fabric gaberdine helped me to understand how to contruct a vent.

Year 2 Tailoring Processes: Week 1

Range of hems in calico


During the first week i learned a range of different hem samples some i hand sewed and some were machined based hem samples. By learning hand sewn and machine hem samples enabled me to learn new sewing skills which i would used when producing my final tailored jacket to a high standard. These range of hems i've produced have been placed together in a file to help me with hems in the future, as a personal learning book ive produced to help me.


Blind hem using a slip stitch by hand


Bagged out hem suing blind hem machine

Machine blind hem with a roll hem loose lining


Shop Report


Lower Middle Market

For the lower middle market level shop report i looked at H&M and New look. Through not taking and observational sketches i was recording and comparing the production used in order to make these tailored garments. 

Middle Market


For the middle market level i looked at Zara and Next focusing on the type of materials used, key detail and the type of machinery involved to produce these tailored garments.


Upper Middle Market


For the upper middle market i looked at Reiss and All Saints. There silhouettes were very simply and toned down. Its all about the quality and materials with key detail such as pocket or button details that bring the garment together as you can see.


YPH Research


These are some of research pages from when i visited the Yorkshire Play House costume department. By looking at a wide range of garments with key detail enable me to think of how i could interpret some key detail into my tailored jacket designs. The way key detail has been used to bring the garment together, the type of button holes, trimmings, materials and production is what makes the garment different.